Coffee Geeks
RESOLVE TO KEEP IT CLEAN
New year, new brewing equipment, new resolutions. You’ve got all three, but need to find a way to put them to work, and we’ve got you covered.
BREWER & VESSEL CLEANING HACKS
Removing coffee residue
You’ve been rinsing your brewer and vessel out, but there’s residue stuck on the inside, and it just keeps building up. Thanks largely to the oils and other compounds in coffee, coffee is great at staining things, including what you brew it in. Not only does this residue deposit stains, but it also leaves behind odor and flavor that makes your brew taste off. That’s exactly why it’s so important to keep your brewers and vessels clean in order to brew the best tasting coffee. Other than thoroughly cleaning your brewers and vessels after each use, we’ve provided you with a way to deep clean them as well.
With what’s in your cupboard: White vinegar and baking soda
White vinegar, diluted with hot water (195-205°F) at a 1:8 ratio, is an efficient, cheap way to clean and descale porcelain and glass brewers and coffee vessels.
Simply pour the vinegar and hot water into the brewer or vessel you would like to clean, or submerge it in a container filled with vinegar and hot water. Let the vinegar and water solution sit in the vessel for at least 10 minutes. Dump out the solution before wiping down the brewer or vessel with a dish rag. Repeat the process of cleaning the brewer or vessel with the solution, followed by wiping it down, until the residue/scaling is completely gone. If the residue is especially stuck on, try adding roughly 1 Tbsp baking soda to the brewer or vessel before wiping it down. The baking soda is abrasive enough to clean, while gentle enough to not harm your brewer or vessel. Once the residue is gone, thoroughly rinse your brewer or vessel with water to ensure there is no vinegar or baking soda left behind. We do not recommend cleaning plastic brewers with vinegar, which may leech into the plastic.
GRINDER CLEANING HACKS
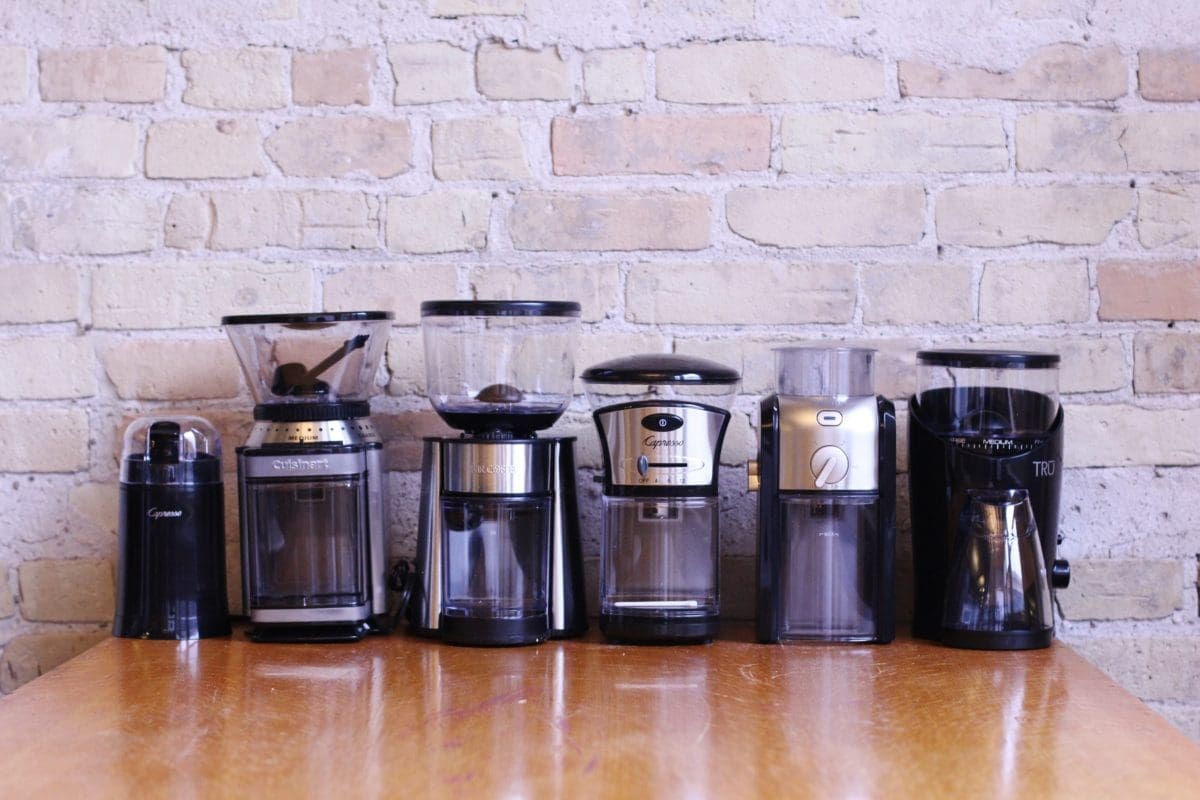
Your grinder is just as essential to clean as your brewers and vessels in order to brew the tastiest cup, which is why we’ve provided you with tips for cleaning yours.
Vacuum
You read that right, your vacuum cleaner is one of the quickest ways to clean the loose grounds from in and around your grinder. Simply put on the clean hose attachment, and turn on the vacuum, being especially sure to vacuum the area where the burrs are housed, as well as the spout that the ground coffee comes out of.
With what’s in your cupboard: Minute Rice
Believe it or not, you can use Minute Rice to clean your grinder! It’s very important to note that you CANNOT use any other type of rice to do this. Other, harder rices will potentially seize up the burrs on your grinder, so this is an important note to take to ONLY use Minute Rice (instant rice). To use the Minute Rice to clean your grinder, simply measure out ½ C of Minute Rice, and run through your grinder. Follow up with a ‘rinse’ of whole bean coffee to ensure that no rice particles remain. If you notice there are a lot of coffee particles in your first pass of rice, repeat these steps again until it runs clean.
Clean like a pro: Urnex Grindz
Don’t want to fuss with Minute Rice? Urnex brands makes a product called Grindz that makes cleaning your grinder simple. Simply place a capful of Grindz pellets in the grinder while it’s running, then follow it up with a ‘rinse’ of whole bean coffee to ensure that there’s no Grindz left in the grinder.
Now that you have the cleaning tips of the pros, it’s time to have the brewing and grinding equipment of the pros. No need to fear, we’ve got you covered for that, too. Click the button below and shop our line of brew tools and gadgets with free carbon neutral shipping via UPS Ground.
SHOP BREW TOOLS

